Showing posts with label snacks. Show all posts

Sunday

Sun Butter is Just Better!

I confess...I used to stick my finger in the jar of peanut butter. Hey, my hands were clean!!! I couldn't help myself - all that lovely, velvety, sweet smoothness with a touch of crunch and saltiness that would stick to the roof of my mouth in that weird yet endearing way... pure heaven!

Sadly though, since discovering my various food sensitivities over the last few years, I noticed my tummy not appreciating the attributes of P.B. anymore and, therefore, have been denying myself of this sticky seductress. Until now.

I recently discovered something that I dare say is actually better than my good old P.B. It is slightly sweeter and has that yummy, velvety texture with just a hint of salt...and it can be crunchy too, if you like. And here's the real clincher, it's much healthier! I'm talkin' about Sun Butter!!!

This amazing spread is made from the humble sunflower seed! And although it is made from such a tiny kernel, it packs tremendous flavor! One of my favorite snacks is to dip apple slices into crunchy sun butter with a drizzle of pure honey - amazing! And my latest exploration has led me to Sun Butter Ice Cream...mmmmm! So very rich and creamy with the sweet/salty taste that leaves you wanting more. I use this recipe from Karina Allrich as my base. Here's what I do:

2 cups unsweetened So Delicous Coconut Milk (the one in the green carton)
1/2 cup maple syrup
2 tsp. vanilla
1/2 tsp. 1/4 tsp. coconut flour (instead of x.g.)
large pinch sea salt

-Whisk it all up really well, especially if using the coconut flour, so there are no lumps. Pour into ice cream maker and let it go for about 10 minutes. Add:

2 very generous soup spoonfuls crunchy sun butter (in the last 10 minutes of the ice cream cycle)

-Let in whirl about another 5-10 minutes until it's very thick. Eat right then (soft-serve style) or place in container and freeze.

So, so good!

Pizza and a New Hair Cut

So what is new in the world of Tammie? I'm so glad that you asked!

First, let me just say that it has been years since I have been able to have pizza (FYI: I don't count all the crappy cardboard attempts at GF pizza that I have endured nor my last BJ's gluten-contaminated pizza but that's for another blog post...), I mean really good PIZZA! But now I have found it, and I'm going to share it with all of you...ready?
I've only got eyes for this pizza pie

Ta-da! Conte's GF Pizza Shells are awesome! I get mine at Whole Foods. They're so good that I now keep a couple of packages in the freezer at ALL times.

Here's what I do: I make a quick pizza sauce by mixing tomato paste with some agave and crushed garlic. Sometimes I add a little dried crushed fennel or oregano... it's all good. Then I spread it all over the frozen shell and top it with real whole milk mozzerella cheese. Now I know what you're going to say, "Hey, wait a sec - aren't you dairy-free? What gives?" Well, truth be told I am 90% dairy-free. Occasionally, I indulge in some real dairy goodness and will suffer the consequences. However, for some inexplicable reason I don't have any trouble with real-deal mozzerella, or feta for that matter. (Can I get a "Woo-hoo"?) And besides, I only have it occasionally - see how I can rationalize with the best of them? ;)
Pesto and sausage - perfecto!
So back to the recipe, I top it with the gooey-cheesy goodness and pop it straight onto the oven rack. I let it bake at 450 for about 10 minutes and when it comes out,  crown it with some fresh basil leaves from the garden. Voila! PIZZA!!!

Now, my husband is more into meat so I made him a pesto and sausage version that he said was delicious (pictured above because I scarfed mine down before I remembered to take a pic - sorry.) I've also tried just brushing the shell with olive oil and topping it with crushed garlic and some cheese. Excellent as an appetizer with wine.

These crusts are crisp on the outside but still slightly chewy on the inside - just like pizza should be. (And I think it's even better the next day reheated in the microwave!) No crumbly, dry, tasteless, cardboard crusts here folks. These are the real deal! It's just so exciting to be able to have pizza in my life again...*contented sigh* Yes, my life is small but my dreams are big...and my food is delish! (lol)

Trying to give you a serious thinking type of pose...ha!
So on to the other new thing in my life...I have a new hair cut! Yep, I decided to whack it off for summer and give my locks a break from the bleach. What do you think? BTW - I love black and white photography...it forgives all the imperfections - and a violet photo filter helps too!

Friday

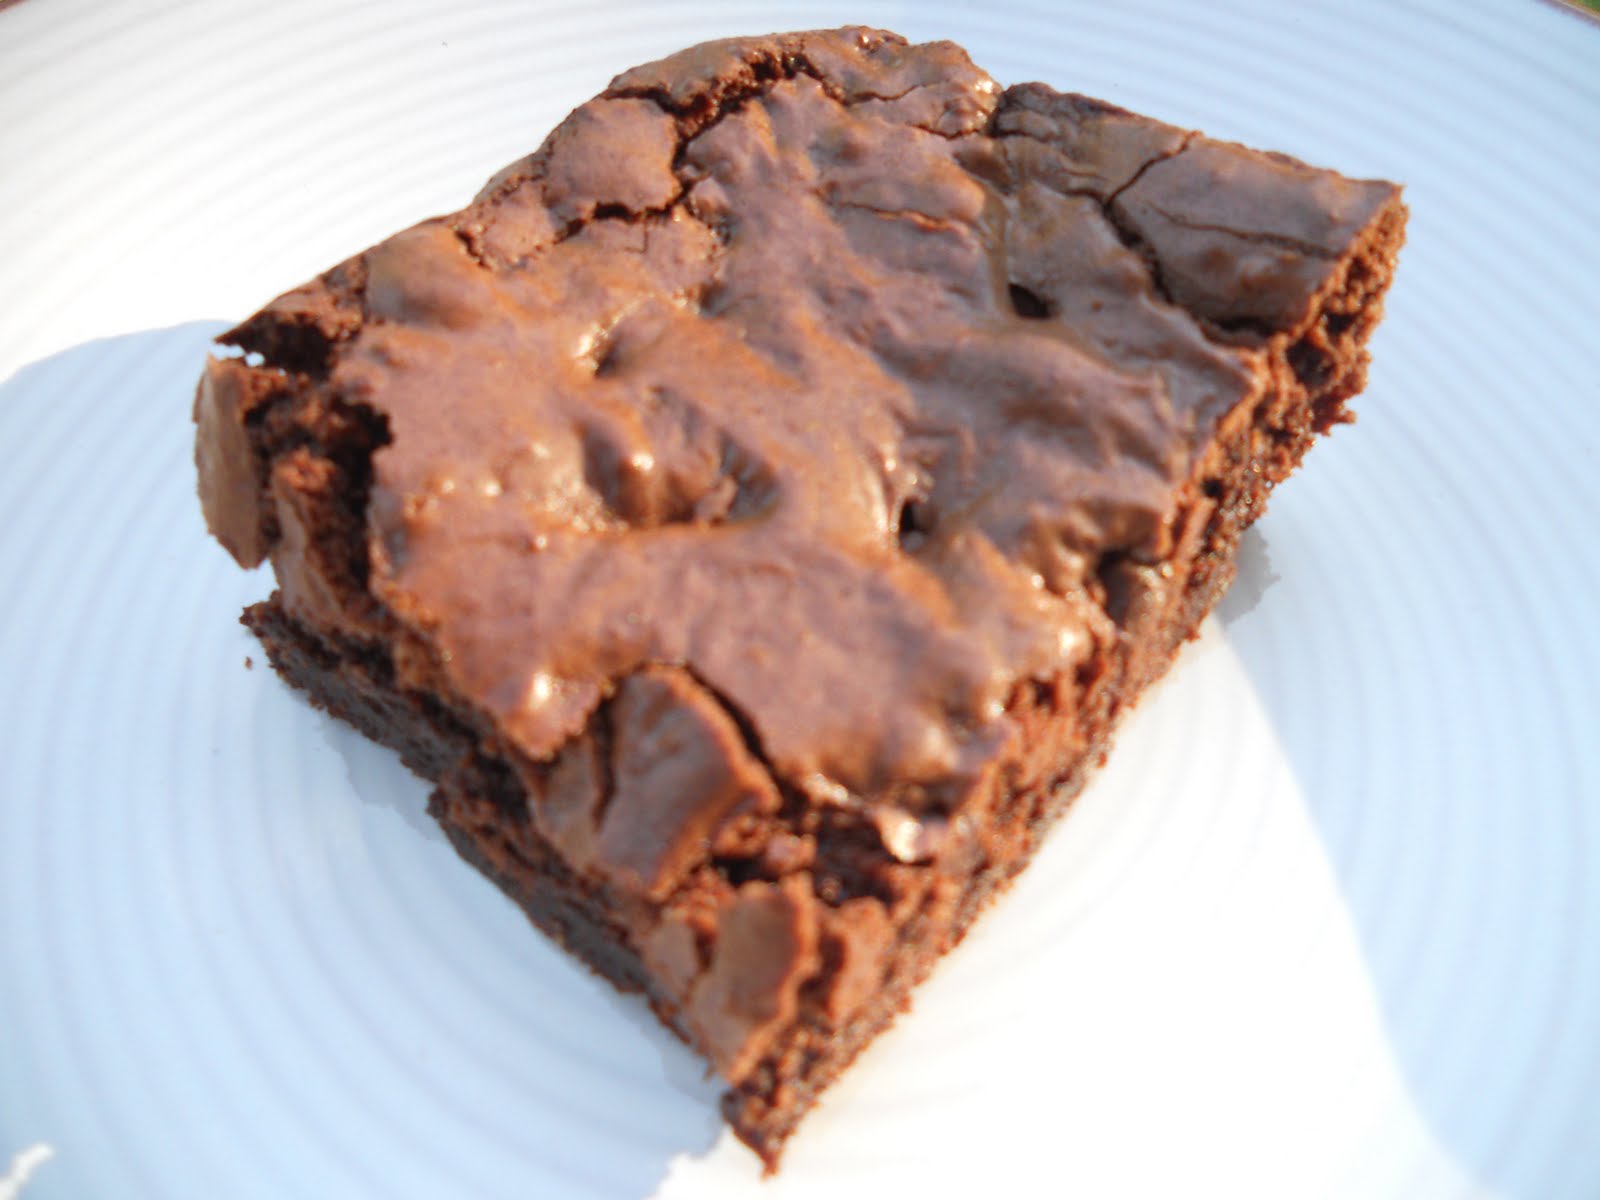
GF Brownies

I had a chocolate craving today and have been wanting to try this brownie recipe from Karina, The Gluten Free Goddess. And let me just say, these brownies are spectacular!


Rich, moist and oh so chocolaty!!! I decided to cut the recipe in half (because I figured there would be less temptation that way...) and they came out perfectly (I baked them in a small glass pan for only 35 minutes.)


I had (notice the word "had" instead of "have" used here...) six extra large fugdy and delicious brownies. Oh my! So, so very good :)


So the next time you get a chocolate craving, go ahead and give these a try! You'll be in chocolate heaven! Here's the recipe.

Wednesday

GF DF Vegan Apple Spice Muffins

Hello Everyone! I'm a few days late in posting this recipe....sorry. What can I say except that life happens :)

The recipe I promised you is for Apple Spice Muffins. A moist, delicious muffin that is gluten free, dairy free, vegan AND contains no white sugar whatsoever. All of this and it tastes AMAZING! Can you believe it??? These delicious morsels are not dense and crumbly, not too sweet, and are loaded with fiber. This is a muffin that you don't have to feel guilty about!
Apple Spice Muffin drizzled with wild honey

I borrowed the original recipe from Kelly at 18 Hour Kitchen and tweaked it here and there just a bit until I came up with this version. Kelly's original recipe calls for Xylosweet and stevia. I haven't tried Xylosweet yet and I'm just not a huge fan of stevia. It seems to impart a strange aftertaste in my baked goods. Perhaps it's because I haven't been off of white sugar long enough yet. Not sure. (I've been told that the longer you're off of the white stuff, the better stevia will taste.)

For now I like to use agave, honey (for non vegan recipes), pure maple syrup and coconut sugar. Yes, they do have higher glycemic index rates but they are still better than standard white/brown sugar by far and have that yummy sweetness sans any odd aftertaste. As an FYI, here's a list of common sweeteners and there GI value:

White/Brown Sugar (64)
Black Strap Molasses (55)
Pure Maple Syrup (54)
Sugar Cane Juice (43)
Coconut Sugar (Palm Sugar) (35)
Raw Honey (30)
Brown Rice Syrup (25)
Agave (11-30) *Depending on brand
Xlyosweet (7)
Stevia (less than 1)

Some of these may be a bit higher on the scale but take longer for the body to metabolize so they do not lead to crazy blood sugar spikes like white sugar will produce. I'm new to using coconut sugar but love the fact that not only does it have a low GI, it is also full of nutrition and also does not cause spikes in blood sugar. It is very similar to brown sugar in it texture and appearance but has a more mild flavor and sweetness. Be sure to measure it as you would brown sugar, packing it into the measuring cup. And due to it not being as sweet, you may want to add a little more than what your recipe usually calls for until you are used to it.

On to the recipe...
My lil' helper!

I had a special helper in the kitchen on this particular day. My nephew (who is a much better baker/chef than I am by the way) loves to help me try out new recipes. I love how excited he is in the kitchen, creating healthy food - he's so full of passion and loves to experiment. I do believe he could be the next Iron Chef!

These muffins are really easy to make once you have all the flours. Just mix wet and dry in separate bowls and then combine...how easy is that? You could also mix together the dry ingredients ahead of time and then keep them in a baggie in the fridge so that whenever you want delicious, homemade muffins, you can whip them up in just minutes! (I used Bob's Red Mill products for the flours. Also, you'll want to make sure that the baking powder and vanilla you are using are gluten free.)
Mixing it all together!

Preheat oven to 350. Line or grease a muffin tin. Blend together the following dry ingredients in a bowl:
-1 cup sorghum flour
-1/2 cup almond flour (or meal)
-1/2 cup ground flax meal
-1/4 cup tapioca flour
-1/4 cup coconut flour
-1 tbsp. cinnamon
-1 tsp. baking powder
-1/2 tsp. baking soda
-1/2 tsp. salt

In another bowl, whisk together:
-1/2 cup unsweetened almond milk (or milk of choice)
-1/2 cup vegetable oil (or melted coconut oil)
-1/2 cup pure maple syrup or agave
-1 tbsp. vanilla extract

Mix the wet into the dry. Stir in:
-2 cups grated (peeled) apples (about 2 apples)
*Could also add some chopped walnuts or some raisins, if you like

These are so very good!!!
Scoop into muffin cups and fill about 3/4 full (makes 15 muffins.) Bake 25 minutes. Let cool in pan on a rack 20 minutes (otherwise they stick to muffin papers and could fall apart.) Awesome drizzled with honey!